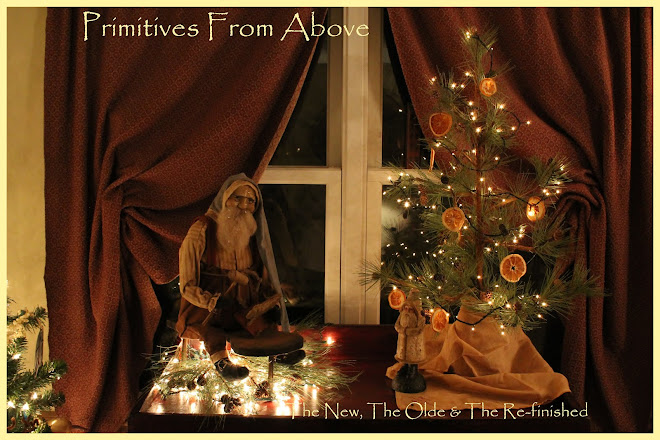
Woke up this morning to ice and snow on the ground. Yep, it was beautiful, warm, sunny and in the high 60’s the other day. Only in Ohio does this happen (lol). Time to get my winter coat back out. Anyway, as promised I thought I would share with you a very quick and easy tutorial on a primitive cookbook that I made. If you haven’t had the chance to visit Susie’s site (Yankee Lane Primitives) then you better head over there and check out her rag tags. I ordered several from her recently and they are wonderful. Many different ones to choose from and they are coffee stained perfectly for any project!! After receiving my rag tags…. I went to my local Wal-Mart and purchased some homespun, went to Crafts 2000 and purchased the books. Here is what you will need for the project.

Glue, a small bowl, a little water, foam brush, scissors, homespun, rag tags, and a journal book.
![divider07_thumb[1]](https://blogger.googleusercontent.com/img/b/R29vZ2xl/AVvXsEi-EWtueOdNgYw3GJUZ2PIcPKy9RTDgZggmfvJzAx9ttmFvxQNPgbcw4rAY1dUHme6qN28PJ8A1yNiID9eYddmvu75-A6IRJ-TMfxNCYRt7qL53PXjkPoIlABzI9t16O8NAqkEh2agmtcy0/s1600-h/divider07_thumb%5B1%5D%5B3%5D.gif "divider07_thumb[1]")
Your first step is to coffee stain your homespun and let it dry completely. Once that is dry then you will cut your homespun large enough to cover your book. You want your piece large enough to cover the edges. I started off by cutting it and then tore it the rest of the way to give the homespun a more rough and prim look.

Lay your book on the cloth like this. You will want to get your small bowl and put some glue in it and water it down just enough for a syrup like consistency. You will then apply your glue to the inner sides of the book where your cloth will cover.


Once that is folded over then you will want to apply your glue over the top of the cloth as well. Make sure it is good and covered so the cloth is wet. Every piece of the cloth should be covered with glue.


Once you have the bottom and the side done then you want to fold over the top.

After you have completely covered all of the cloth with glue then you will do the other side just the same. Now we will apply our rag tag. I chose this one from Susie because it was a more simple look and easier for her to print. If there is more detail to the label that you pick then it might not turn out on the cloth. So, run it by her and she will be able to tell you if it will look ok when printed.
Ok, let’s apply the rag tag to the cookbook. Get a small amount of glue on your foam brush and apply that to the front of the book where you want your label to be. Place your label and then apply glue over top of it once it is in the right spot. Once that is covered then you will apply glue to the whole outside of the book. It will take some time for it to dry, but it is important to cover the whole book in order to keep the cloth in place.


Are you are wondering how I dried it without the book sticking to everything? I simply placed it standing upright on a foam plate for about an hour. Now that your cookbook is done…..just let it dry and then write in only your family favorite recipes. If you are anything like my Mom and I then you have your favorite recipes that you use all the time. So, get those out and enter them in to your cookbook and there you have a perfectly prim cookbook that can be left out on the counter at all times. Not only is it right at your fingertips, but it matches your decor as well. Pretty neat – huh?
Hope you enjoyed the tutorial. Pretty easy – don’t ya think? Have a wonderful Friday everyone!!
Blessings, Lisa


15 comments:
Lisa,THAT is really,really NEAT!!!
I was JUST on Susie's site yesterday afternoon...looking at the "Spring" & "Easter" paper labels....she has some really great labels and good prices.... :)
Hey,thanks for stopping by my blog and saying the nicest things!! I sure do appreciate that!
Have a blessed day! :)
Backwoodsprim
Wow! That is really neat! I may have to try that when I get a chance. Thank you for sharing it with us! I can't believe you have snow today. Winter is over!!! Hopefully, it will be the last time you see snow for a while!
~Dan~
Very nice idea Lisa. I might have to do a couple of these for a few friends. I love reading recipes and what could be better than a recipe book filled with all my tried and true tested favorites in it.
Enjoy your weekend.
AMY
What a great idea! Love the finished book - looks perfectly prim. TFS.
Thanks for the tutorial Lisa! Susie sure is busy girl, I just placed another order from her special labels and some other things! She's great!
We had snow and rain yesterday off and on, and heavey frost this morning, so it isn't only in Ohio!
Love my little Black Crow Coffee sign!
~Blessings
Thanks for the tutorial Lisa! You did an awesome job at it!! I hope to get a couple of these done! Susie is great to work with isn't she??
Brenda
cool--they would make awesome journals!!
Hi Lisa...great tutorial! I always love to read your blog...all kinds of interesting stuff. Glad you are enjoying Mom living nearby.
Friends,
Susannah
You don't get that weather only in
OHIO, it was 70+ degrees here last
Friday and then Saturday, it was
cold and rainy and it snowed Saturday night and
Sunday! I will be glad when it finally warms up! Your tutorial is great!
Have a great weekend!
Bear Hugs~Karen
Great tutorial! It looks beautiful
Lisa, this is perfect! I have to make one too!!! Now off to Susie's to check it out.
Thanks so much!
Very fun! And handy... and do-able... useful...
What an easy and fun project....I like how yours turned out Lisa.
I went to Yankee Lane but didn't see where to order the labels from....help!!!
Karen
I love fabric covered books but haven't made one in ages. Thanks for the inspiration!
What a neat idea! That cookbook is so cute. I don't know if I'll ever get around to making one because my project list is a mile long and my unfinished project closet is bulging! But thank you for the tutorial. I'm going to bookmark it in case I have time to make one.
Have a blessed week~
Post a Comment